|
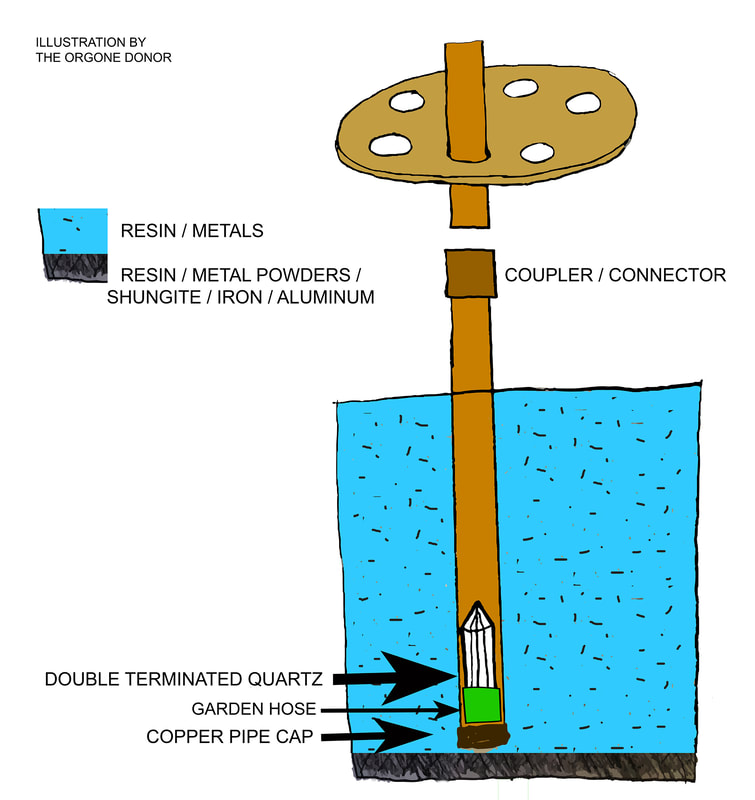
Updated 8/9/19: Downloadable PDFs for instructions on building each of these chembuster models are also available HERE. The following information is based on my own experience as an Orgone energy researcher and creator of Orgone and scalar energy devices. I've created three variations of the chembuster, the high-powered Orgone device based on the Cloudbuster, which was created by the late Wilhelm Reich. While each of these variations has shown fantastic results, I do have a favorite. Additionally, if anything I've shared resonates with you and you'd like to support my work, please check out my online shop! All of my gifting adventures and Orgone research for the last few years has been self-funded, and 100 percent of every sale I've made has been used to create and gift more devices throughout the United States (and my happy little pockets of rain forest in Costa Rica). ***Disclaimer: Everything I include in this document is for educational and entertainment purposes only. I am not a doctor, and the information I share regarding Orgone energy is not to be taken as any form of medical advice, nor is it meant to be used to treat or diagnose any medical condition, disease, ailment, or other heath-related issue known to exist in the entire universe. If you understand how and why Wilhelm Reich was destroyed by the FDA, this disclaimer will suffice. If you still have questions about this disclaimer, then Chembuster building is not for you. Please find a new hobby. Additionally, I do not create or manufacture Orgonite devices for sale. I create orgone and scalar energy devices. The term Orgonite was recently trademarked by someone who I believe is a government shill. For details about that parasitic nonsense, visit my Orgone Energy page. For questions about Chembuster building, email me at [email protected]. I'm always happy to help others combat this nonsense, especially those people taking action to help themselves! In order below, you will find the outlines for the Don Croft CB, the Induction CB, and my personal new toy, which I didn't know what to call it other than Mitch's CB. Enjoy! The Original Don Croft Chembuster What is it? The Don Croft Chembuster is the original sky-cleaning tool for Orgone workers. It is essentially a large bucket filled with an orgone device recipe of metal shavings and resin, typically aluminum shavings so it’s light-weight (it can also include other metals like brass and iron). Six copper pipes are embedded into the device standing up, fastened together with a thin piece of wood with six 1-inch holes drilled through it. Six quartz points are embedded inside the copper pipes, meaning that one quartz point is placed in the bottom of each copper pipe, and each pipe is then sealed with a copper cap before placing the capped end of each pipe inside the resin/metal mix within the bucket. This ensures that the resin/metal mix does not actually come into contact with the quartz crystals inside each copper pipe. The original instructions around the Orgone interwebs also include small rings of garden hose to fit over the quartz crystals, with the claim this gives enough pressure to squeeze the quartz for the piezoelectric effect since it is not being squeezed by the compression of resin after it catalyzes and hardens. I only did this step while constructing the first chembuster I ever made; and while the CB worked wonders, I made follow-up models where I left the caps off the pipe and kept the quartz points exposed, simply placing them in the bottom of the pipes. Then the resin filled the pipes and surrounded each quartz point in each pipe, ultimately exerting some light pressure on the quartz inside the pipes. I know there are some Orgone workers who would have a hissy-fit knowing I did this. I don't care. Our meteorologists in Chicago spent months running around like chickens with their heads cut off because the weather wouldn't do what their geoengineering handlers at Raytheon and Weather Central wanted, and their scripts were made useless. Side note: If you want a good laugh on this topic, check out my YouTube channel and watch any of my Fear Porn Forecast videos. My point is, this construction method has worked for me well enough to continue building them that way; however, if you're making this version for this first time, I recommend just following Don Croft's original instructions and avoiding modifications. This is also most expensive variation of chembusters I’ve created, due to the copper pipes, couplers, and end caps, but it is a tried-and-true device used for years by Orgone workers around the world with success at restoring the natural weather cycle. If in doubt, make this one. It’s fantastic.
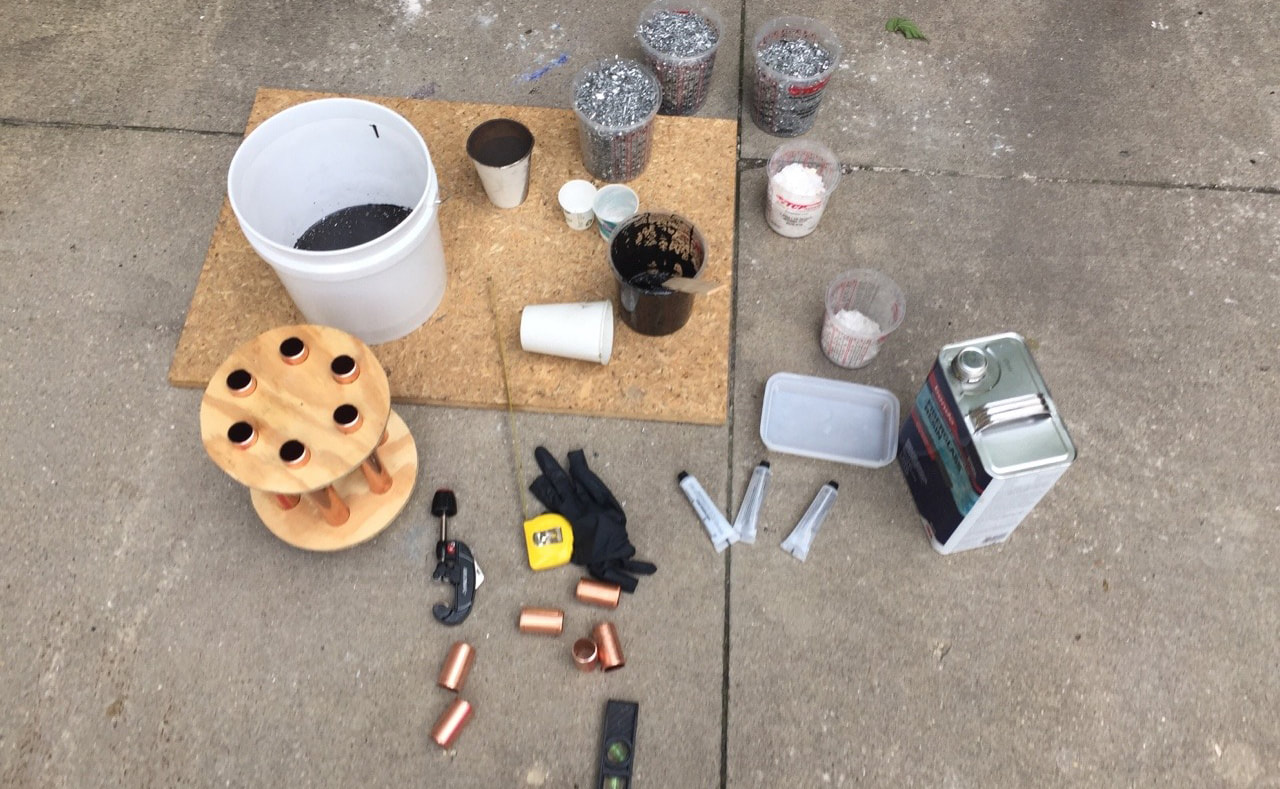
Construction:
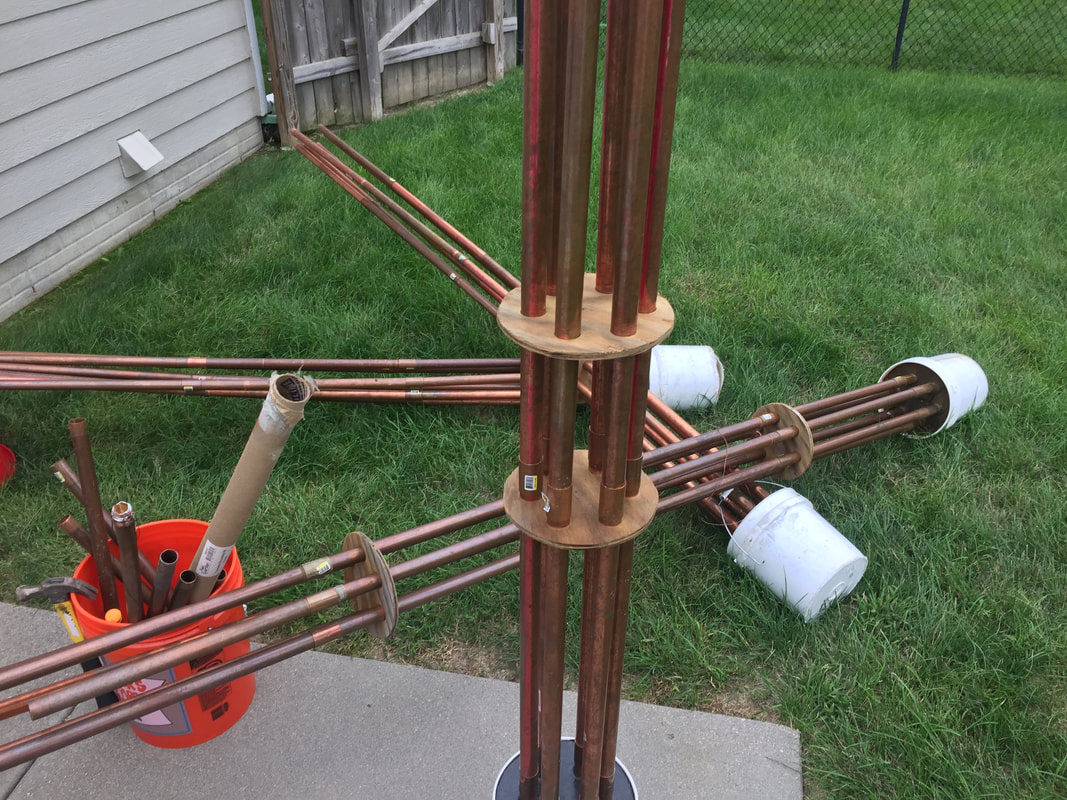
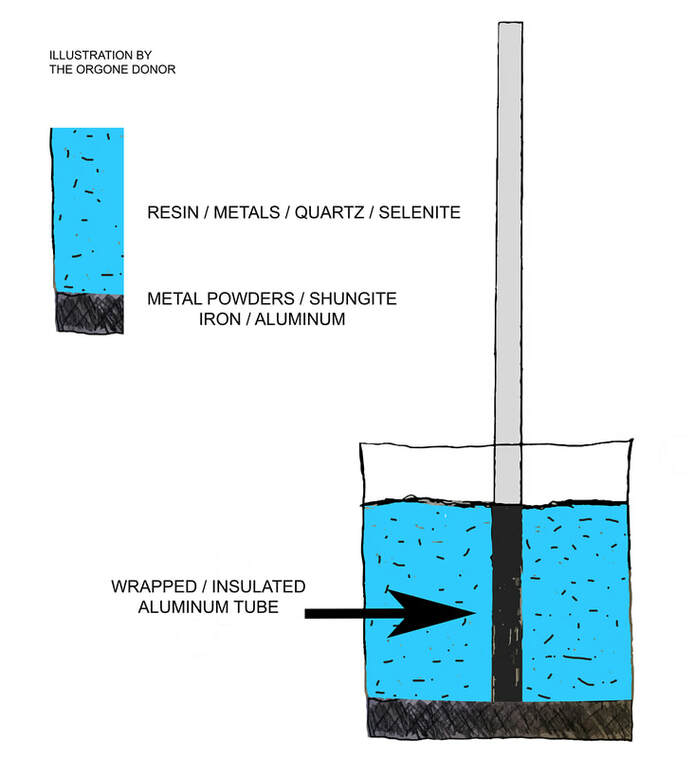
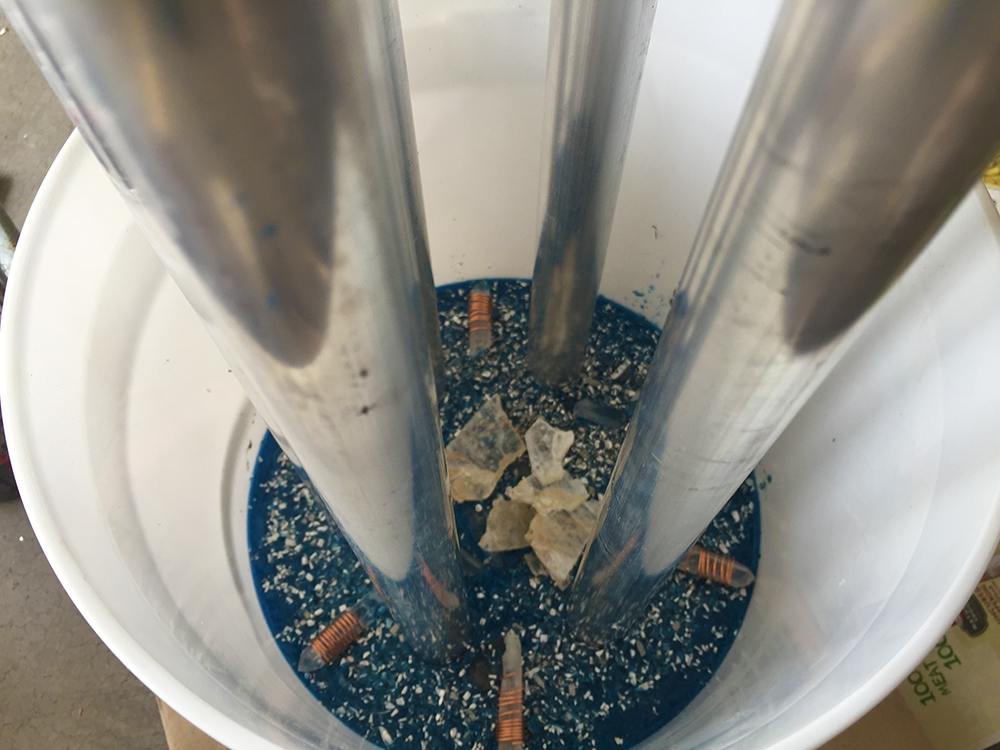
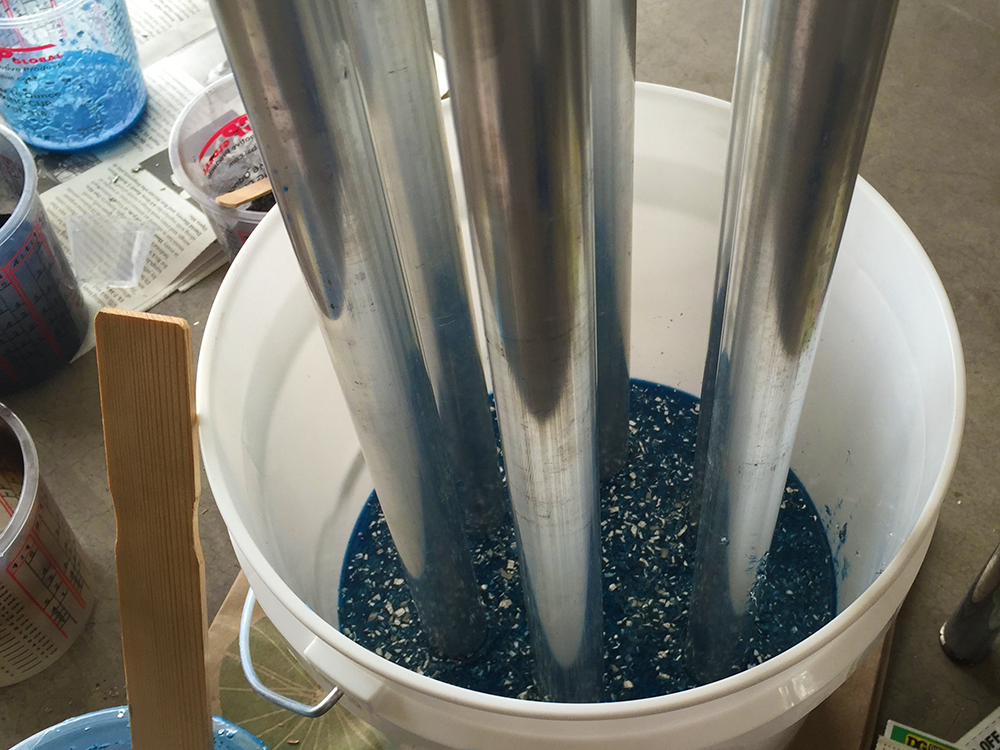
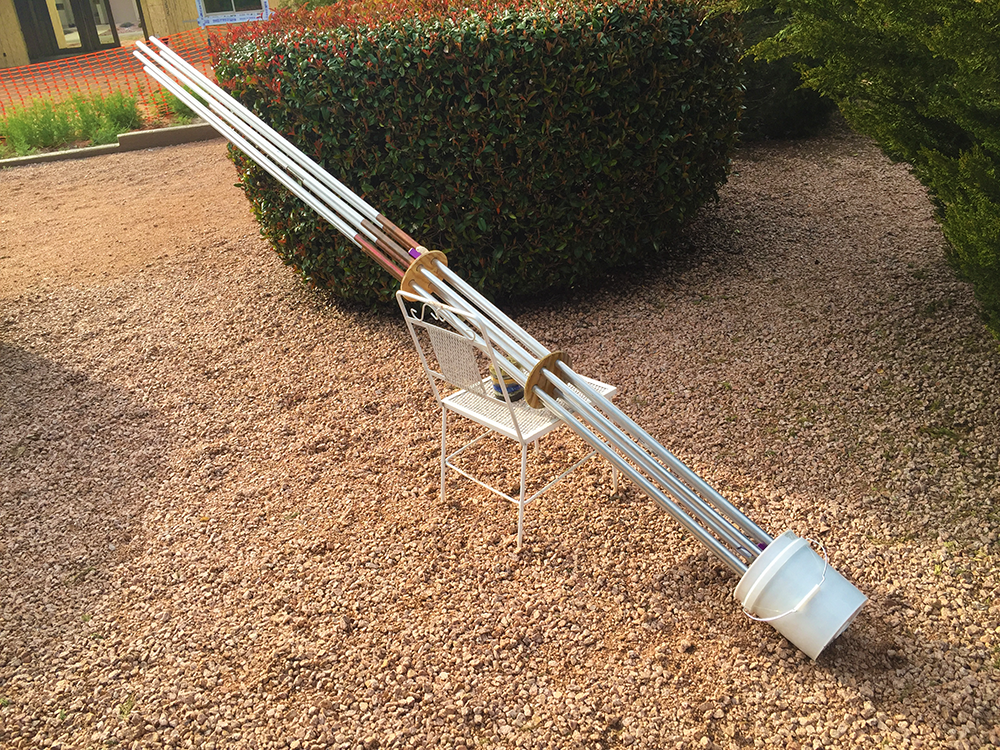
As you become more familiar with chembusters, you can also begin to add more pipes and disc supporters to make the device taller. In my experience, longer copper pipes showed enhanced results. The Induction Chembuster What is it? The Induction CB is a powerful device for those who want to create a significant impact against the geoengineering agenda but are restricted due to their budget. There are many Orgone workers around the world who claim this device is just as powerful as the Don Croft CB, and I believe many of the claims myself. I have made one of these and the results were spectacular. I’ve researched as much as I could about the Induction CB, and the only available sources I can find mention it was developed by Virgil Grenier. I can’t verify with certainty if this is true. The cost to produce my Induction CB was nearly half of the cost of my previous Croft CBs. The three main differences between these devices are that 1) the Induction CB utilizes aluminum tubes instead of copper pipes; 2) there are no terminated crystals inside the pipes. Instead, the pipes are left empty and embedded into the bucket of the resin/metal mixture, and a large amount of crystals are added to the overall mixture in no particular way. The crystal mixture can be any crushed or terminated quartz crystals that you want to use; and 3) the Induction CB can be modified to a smaller size than the regular Croft CB. Some people make Induction CBs that are much smaller in the base, using a smaller bucket/mold. The Induction CB is essentially a bucket of towerbuster with aluminum pipes sticking out, kind of like antenna for the giant towerbuster that it is. The aluminum pipes are also insulated from the resin/metal base by wrapping them in an insulating tape or other type of wrapping, so that the mixture does not have direct contact with any of the aluminum pipes that have been embedded inside the mixture. The supplies needed are based on my own creation, so I used the same 2-gallon bucket as my base mold. Supplies Needed:
Tips for Building: If you have access to the wooden/plastic discs that hold CB pipes in place, you will notice that 1-inch aluminum tubes are not the exact same diameter as 1-inch copper pipes. However, 1-inch aluminum tubes should fit inside Type M 1-inch copper pipes. I use a pipe cutter and cut a small ring of copper from my Type M pipes used for other CBs and earth pipes, and then slide it over the aluminum pipe and fasten with tape. The aluminum fits through the copper, and the copper fits snug into the wooden disc, so the disc will then support each of the aluminum tubes and keep them in place during construction. If you have the correct drill bits you can also just cut discs that fit directly with your aluminum tubes. Purchase aluminum tubes in 8-foot increments. Also purchase a $5 pipe cutter. Cut each pipe into 6-foot length. You can use the remaining 2-foot increments of aluminum tube for earth pipes. Or if you prefer, you can leave the tubes in 8-foot lengths and build a taller CB. Please note, because there are no connectors (couplers) with this device allowing you to take it apart, this device is less mobile due to the final shape when it’s standing up. It is essentially a 6-8 foot device and the tubes do not disconnect from the base like in the Croft CB. Shungite FYI: I use Shungite powder (optional). Shungite powder is a strong antioxidant that purifies everything it touches. Resin is activated by oxygen and heat. Because of this, Shungite will actually slow the curing process significantly. It takes a little practice, but whenever I add Shungite powder to resin I add some extra catalyst/hardener in order for the resin to properly cure. My process for this is:
Construction:
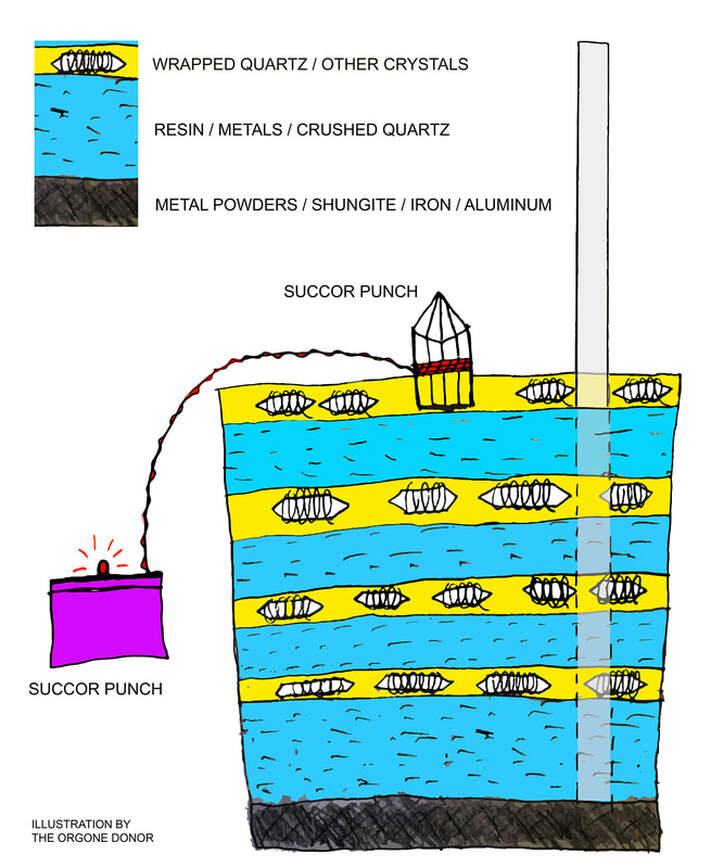
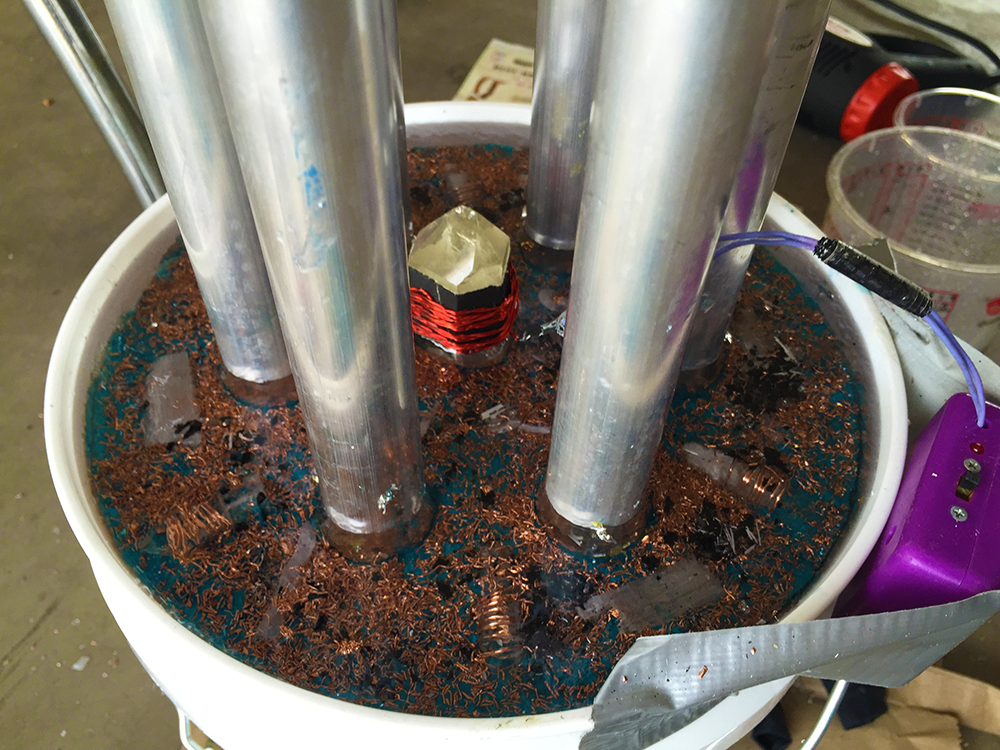
Mitch’s Chembuster What is it? This is my favorite CB to make because in my experience it is the most powerful CB I’ve created. The construction is similar to the Induction CB, however, the aluminum tubes are not insulated from the resin/metal/crystal mixture, and the device is prepared in layers instead of one giant "base" of the same material. The design is based on a smaller-scale device I created in January, 2019 that I named “The ORgun.” Please see my blog post at TheOrgoneDonor.com/blog to learn more about my ORgun device. My CB is constructed in several layers with crystals scattered throughout the base. I also amplify the energy by utilizing 18 quarts points wrapped in copper coils which are placed in groups of six per every other layer. This device has six layers, so three of them will each have six of the wrapped quartz, facing outward from the center of the base. Other crystals like selenite can be added to any of the layers. I add selenite to all of the layers. In addition to the wrapped points and the other crystals used in the resin and metal mixture, I embed a 15 Hz Succor Punch device in the top of the CB base once all of the other layers have been prepared. The SP uses a 9V battery to pulse the 15 Hz frequency. Quartz points are not necessary within the aluminum tubes. Supplies Needed:
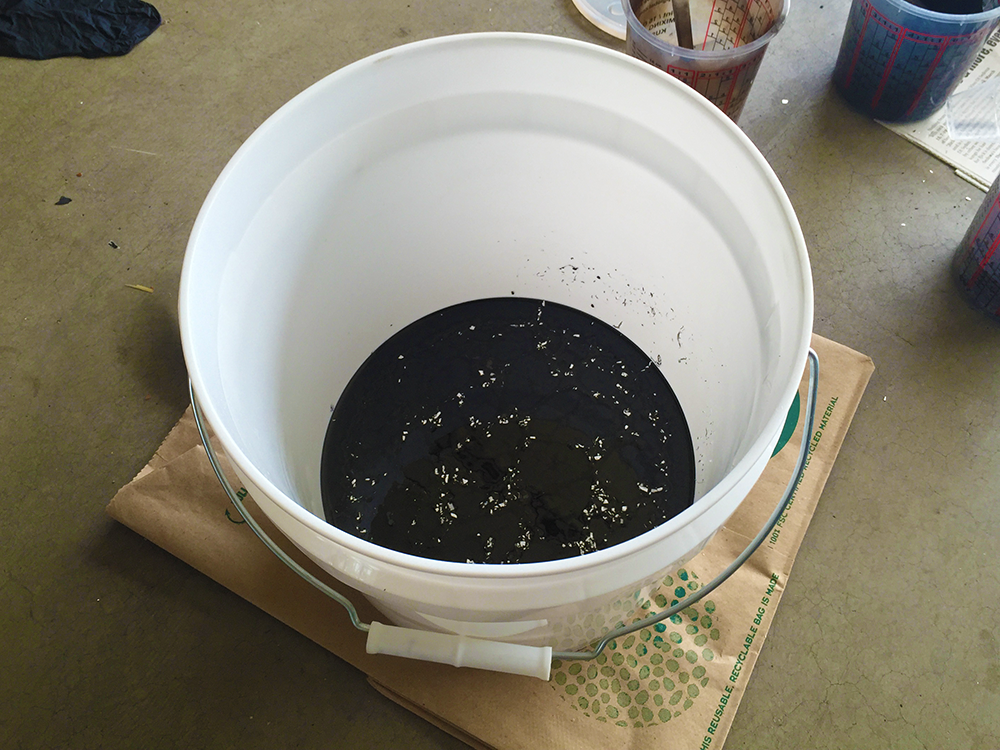
Tip for Building: This particular device is prepared in layers. The first layer includes resin, metal powders, iron shavings, Shungite powder, and some crushed quartz and selenite, so it’s basically a large towerbuster. The following layers alternate between one layer of aluminum shavings and resin with a little bit of crushed crystals added, followed by a thin layer of resin with six wrapped quartz points. The layers with the wrapped quartz only need to be about 0.25 to 0.5 inches thick, just enough to cover the wrapped quartz points. Then layer another resin/aluminum/crushed crystal layer, then another thin layer of resin and the wrapped quartz. In the end, there should be three layers with six wrapped quartz per layer, and then three layers of resin/metals/crushed crystals When ready, insert the succor punch device into the top of the CB base, use strong tape and stick the SP battery box to the side of the bucket. Do not let the battery box fall into the resin mixture. Please Note: My latest device includes an additional layer on top with more wrapped quartz for a total of 24. The recipe for this only uses 18 quartz points. The extra quartz in my device was included for aesthetics because the top is clear. It is completely optional. I also used copper shavings throughout the process, including the top, but this is not necessary. Use the metal shavings you can get. Copper shavings can be very expensive. Shungite FYI: I use Shungite powder (optional). See my disclaimer about making sure to use enough extra catalyst when Shungite is added to the mixture with resin (I posted this in the previous two models). Construction:
***Make sure to use tape (duct or stronger) to hold the battery pack of the SP in place while the resin is curing and begins holding the SP crystal in place. When I made this top layer, I prepared my resin and then waited three to five minutes to pour it into the bucket. This way it already began to thicken so I didn’t need to hold the SP crystal in place for very long before the resin hardened enough to hold it up by itself. Allow the full device to cure/harden for a few hours before moving it, then you’re good to go kick some parasite ass. Slap a 9 volt battery into the SP battery pack and enjoy! Also, this device is approximately six feet tall. For my own device, I cut six pieces of 1-inch Type-M copper pipe, approximately six inches in length. Type-M 1-inch copper pipe is just slightly larger in diameter than 1-inch aluminum tubing. I used the copper pieces as connectors and added an additional 6-foot aluminum tube to each of the existing tubes on the device, making my CB just shy of 13 feet tall. In my experience, this is not necessary for the piece to function, but it makes for a fun time aiming at chemtrails and causing the parasites to work overtime as their chemtrail sprays disintegrate in an instant! If you're building your first CB, I don't recommend making too many modifications. Keep it simple! For more info on this CB please email me at [email protected].
0 Comments
Your comment will be posted after it is approved.
Leave a Reply. |
|
|
-------------------------------------------------------
By clicking the Send Message button you agree to contact me only with honest intentions involving the absolute truth, and confirm you are not a government agent, parasitic entity, AI Borg or demonic robot, nor are you affiliated with any government or parasitic entity. You also confirm you have only the most positive intentions based on the absolute truth for all of humanity, Mother Nature and the Universe. |


 RSS Feed
